Better Print Process for First Layer Squish


When calibrating my Z-offset on a 3D printer, I use Ellis' Print Tuning Guide's method which lays 9 squares out on the print bed to ensure uniform squish while minimizing filament usage.
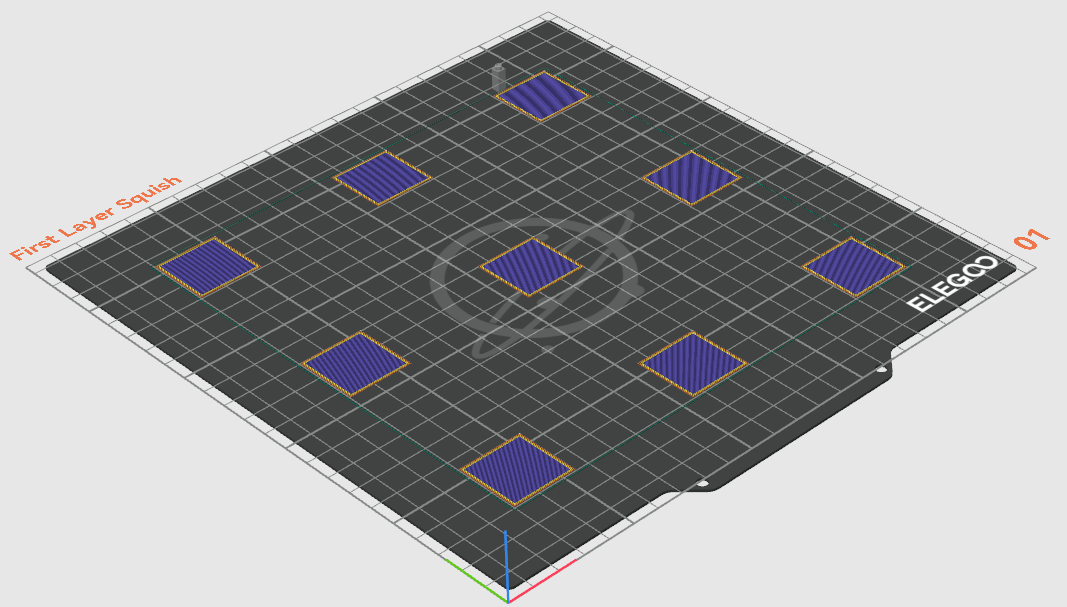
This works great, but the stock slicer settings order the printing of the squares in a pattern that is hard to use when making adjustments throughout the print.

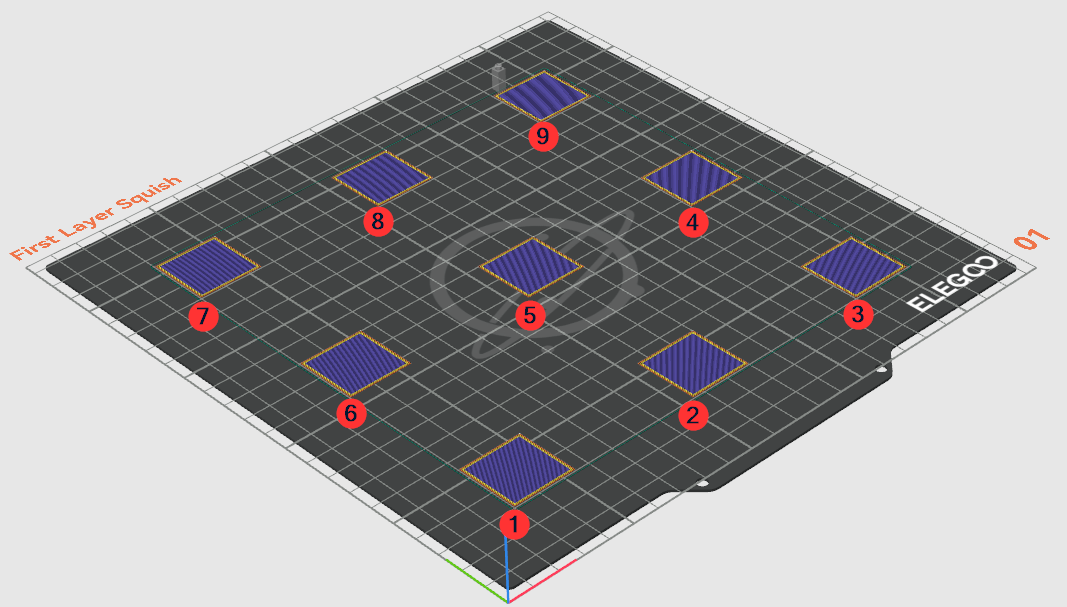
Ideally, the slicer should arrange the print like the following screenshot which makes it so I can easily see each square once it's done and make adjustments from there.
Printing by Object List Order
OrcaSlicer's default method for ordering the print is to optimize toward minimizing the travel between objects and assumes the nozzle will start in the middle of the bed, hence the spiral arrangement.
We can change this though either per plate or globally.
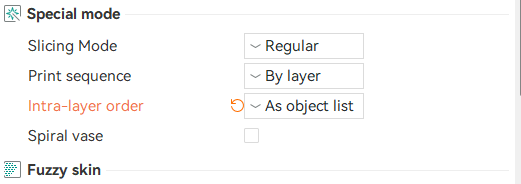
1. In the Process settings, click on the Other tab
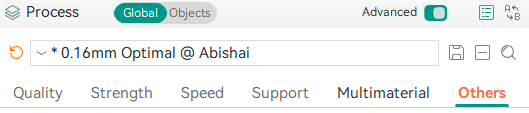
2. Find the Special mode section and change Intra-layer order to As object list
3. Now on the Objects list, arrange your objects in the order you want them to print in.
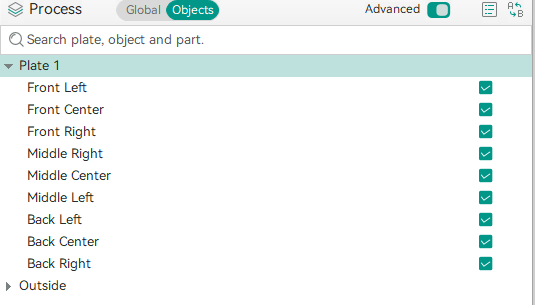
That's it. Now when you slice the print, the layer will be sliced to print the objects in the order.